
You will need:
- An old web camera
(no longer in use) - Completely black
exposed negatives - TV remote
- Simple tools (like a pencil
or small screwdriver) - Tape
- Computer
INSTRUCTIONS
- Ask an adult to help you open the web
camera by opening the case. - Once opened, the lens will be placed on a circuit board of sorts. Find a way to remove the lens. Most probably, the lens would have been screwed on, so unscrew it.
- The removed lens would have a sensor chip attached to the circuit board. Keep it aside.
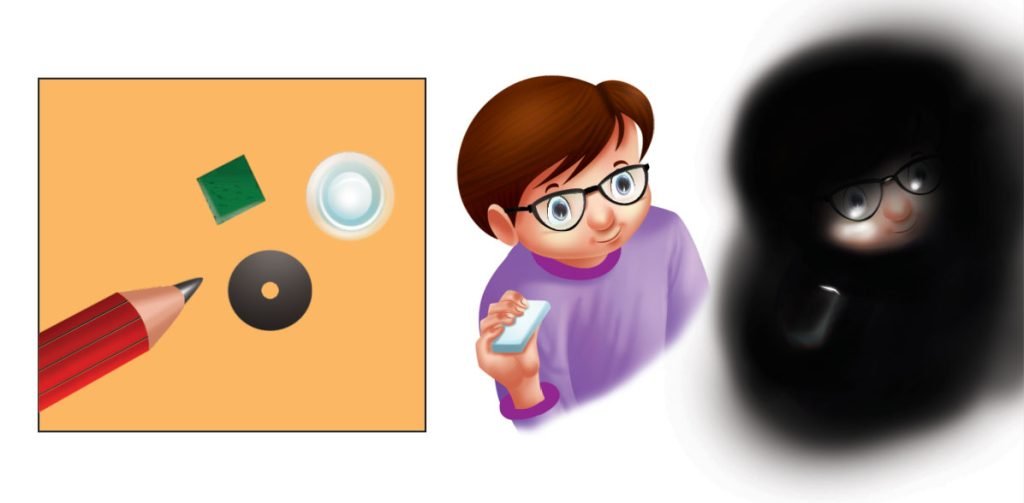
- Take the lens and look for a small greenish or reddish filter attached to the lens. It will be a small square piece of glass.
- Very gently without damaging the lens get the glass chip out.
- Now reassemble the web camera the same way you opened it. Make sure to put the aperture and lens back in case they have come out.
- Lastly, attach the black exposed negatives with some tape over the camera from the outside, covering the lens.
- To test the infra-red camera, attach
it to your computer and take a
photo in normal light but also
press the standby button on the TV
remote and angle it towards you.
RESULT
The web camera has a sensor for normal light and a filter to block IR light built in the camera. By removing the IR filter and adding the black exposed negative, we have created a camera that takes in IR light and blocks normal light. The TV remote which does not show any light would have lit up like a torch. Similarly, a small low-powered light bulb or candle will light up more than an LED bulb in the IR camera. The blue veins in your hands will stand out in the IR camera.