
We can make many useful things from the waste materials. This will make our mind creative.We can use our free time in art and craft.This will overcome our boredom. Even this can make you an artist. You can become economical by not throwing waste and extra material and by making improvised material instead of purchasing each and every thing from your hard earned money. It is rightly said, “Penny saved is the penny earned.”
Paper Pasting
1. Make a beautiful drawing.
2. Instead of filling any type of colour cut different coloured papers according to the shape.
3. Now paste these cuttings.
4. Give details with a sketch pen.
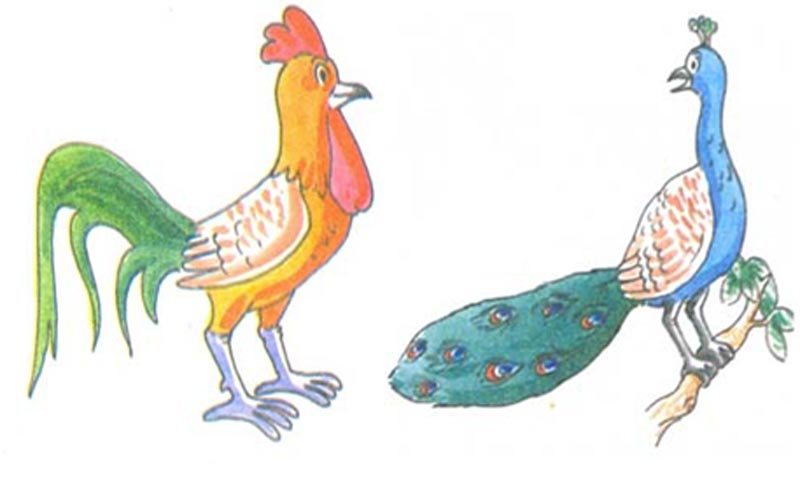
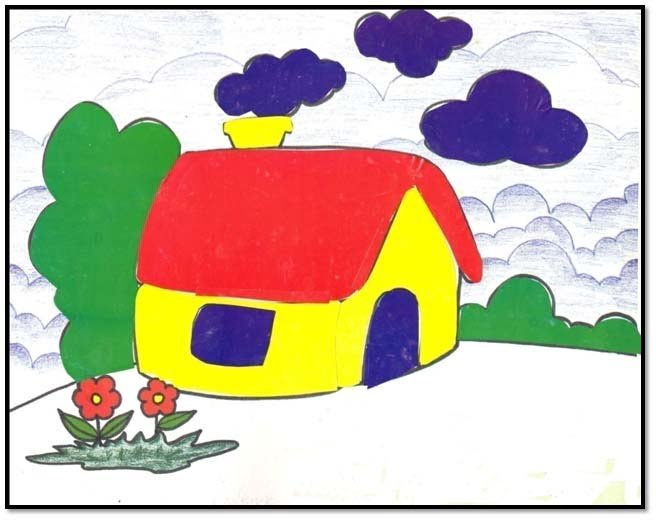
5. You may use designs or papers from the packing material.
6. Even old copy covers can be cut and pasted on the drawing.
7. Give finishing touch and outline with sketch pens.
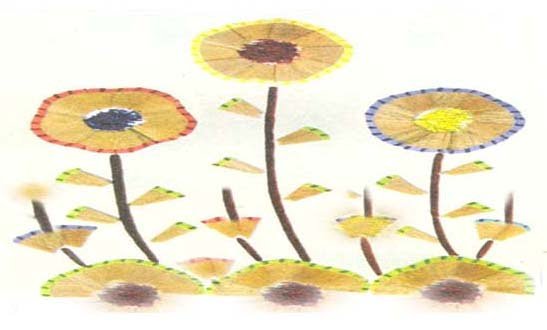
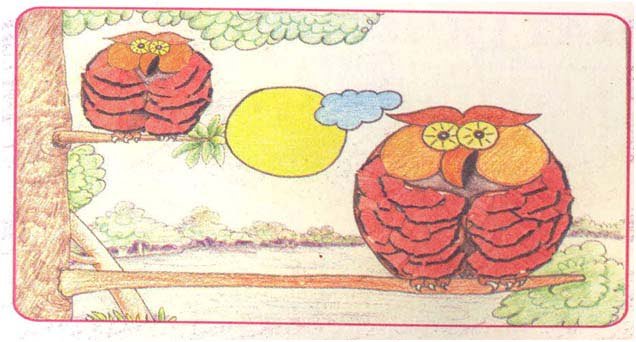
Pencil Peel Pasting
1. Draw the picture of flower plants.
2. Sharpen your pencil.
3. Paste pencil peel on the flower plant with the help of glue stick.
4. After peel getting dried, take poster colours and colour the picture along with pencil peel filled in it.
5. It will give a beautiful look to your picture.
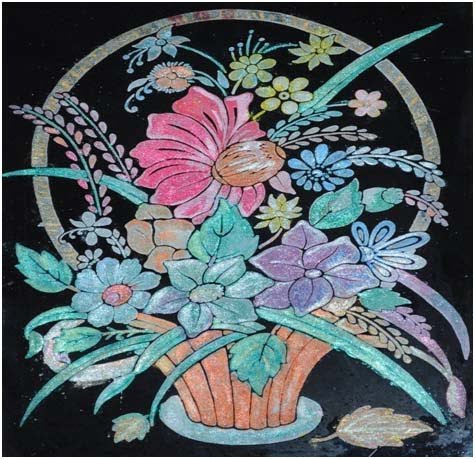
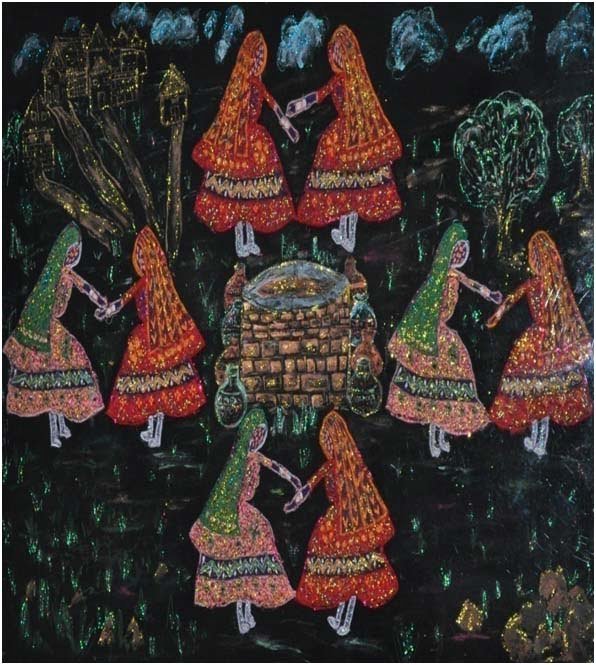
Craft Work with Waste Materials
1. Use your imagination and make some drawing on black paper or hard black cloth. Then cut the waste material like clothes, ice cream sticks, coloured paper or coloured cloth. Paste all the cutting material on drawing you have drawn.
2. For this you may take out flowers, leaves or any design cut from the old waste cloth or dress. Paste them with fabric glue.
3. To make it more beautiful fabric glitters, beads, stones, and fabric colours can be used to give shading.
4. After that get it framed.
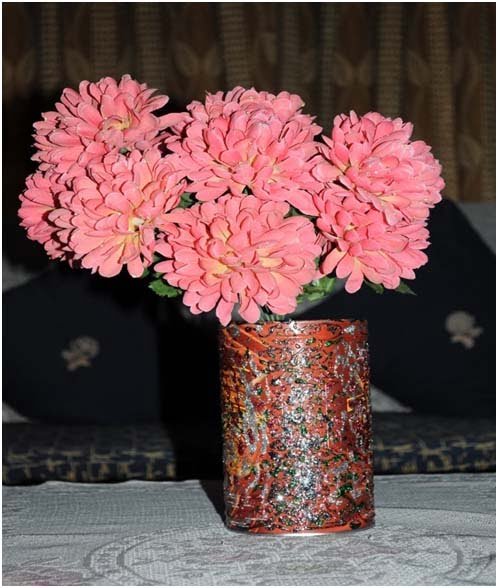
Flower Vase
1. Take some old waste water bottle, can or any type of phial,wash it.
2. Take old expired nail-polishes and make some zigzag or any type of design on the phial and apply glitters.
3. Put some stones or sand in it so that it may not fall.
4. You Flower Vase is ready.
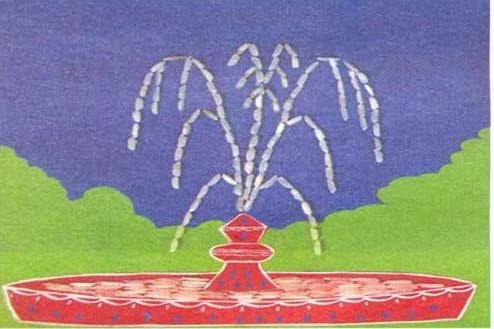
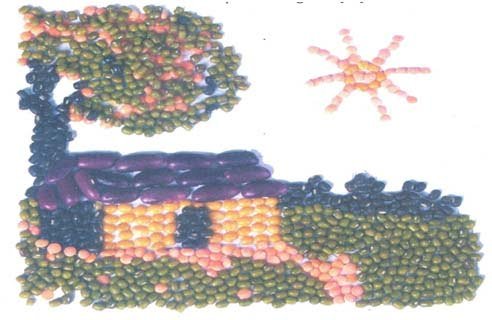
Here are many ways by which You can fill your drawings
1. With small rubber bands of different colours.
2. With old broken bangles.
3. With dry pulses or seeds.
4. Use colours, beads glitters and stones to decorate these drawings.

With Designs from the Old Clothes
Take embroidered part of the old clothes. Paste them on some dark coloured hard cloth with the fabric glue while giving some theme to the picture. Decorate the picture with fabric paints, stones, beads and glitters etc.
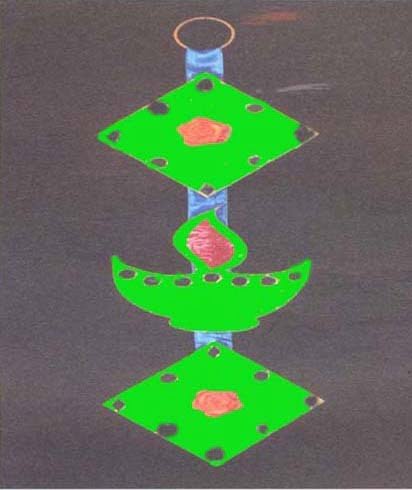
Wall Hanging
With the waste cuttings of the fabrics, mirrors, Bangles, beads, ribbon etc. Prepare a wall hanging as shown in the picture.
Paste velvet pieces of fabrics on some cardboard. Decorate these with mirrors, bangles, ribbons, glitters etc. Attach them with glue on a large woven cotton tape as shown in fig.
Stitch to it a strong old bangle for hanging and get it decorated. Make it matching to your furniture colour.
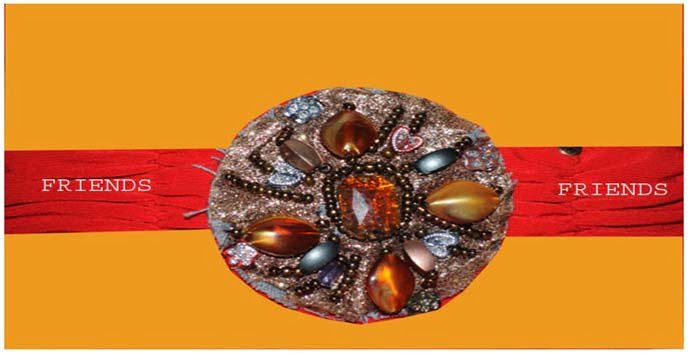
Friendship Band
1. Cut a strip of ribbon of your favourite colour. Cut its length to make a wrist band.
2. Draw some designs on another round shaped contrast coloured velvet piece or some dark coloured thick fabric and paste it on the ribbon.
3. Decorate the design with glitters, beads or whatever you like using fabric glue.
4. Write on both sides ‘Friends’ with fabric or acrylic colours.
5. Let it dry for few hours.
6. Your friendship band is ready. Even hair band and Rakhi can also be prepared by this method.
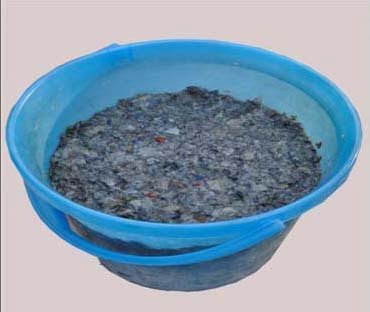
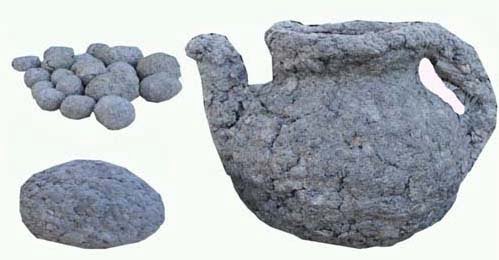
Paper Mesh with POP (Plaster of Paris)
1. Cut the pieces of old or waste news papers filling one bucket.
2. Just dip the papers in water for 2 to 3 days.
3. Now mesh the soft wet papers with your fingers and mix ½ kg fevicol in it.
4. Crush the wet papers, knead them and make dough.
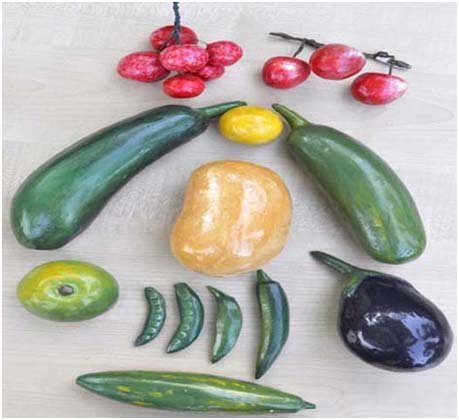
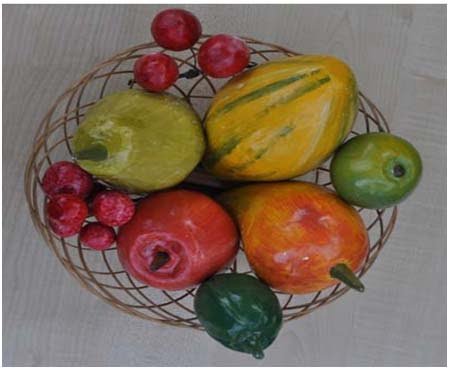
5. Now make shapes of small toys or fruits or vegetables as per your choice.
6. Keep them in sun to make them dry and hard.
7. Now make a paste of Plaster of Paris by mixing water in it.
8. Spread a thin layer of POP on the toys to make the surface smooth.
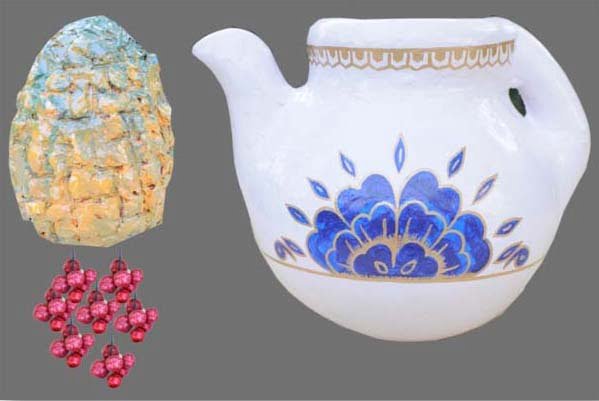
9. After getting it dry and hard, paint them according to your choice.
10. Some work I have done for you :
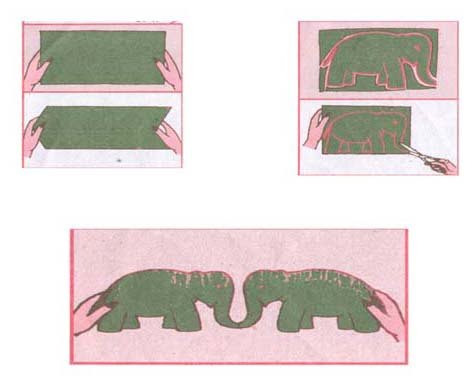
Wall Hanging of Fabric Material
Take small wasted cuttings of clothes. If possible take velvet pieces roughly 6’x6’ square or according to your choice. Now fold the fabric in the middle draw an outline of elephant on the folded fabric with a white chalk. Cut the design of the elephant from the fabric with a scissor. Now open the folded fabric, you will get a pair of elephants. Make such pairs and stick them on a contrast coloured thick sheet with the fabric glue.
Now with glitters give an outline to the elephants. Draw eyes and other parts of the elephant with fabric colours. Decorate the wall hanging with coloured beads, buttons, and threads according to your choice.
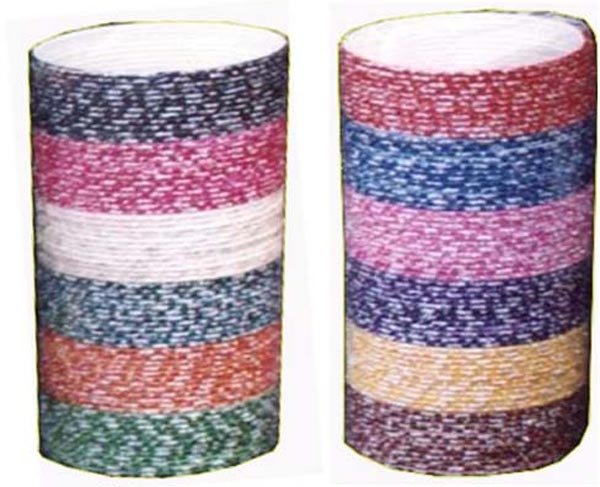
Pen Stand with Bangles
Things required
1. Old bangles
2. Adhesive
3. Cardboard
4. Scissor
5. Pencil
Method
1. Take old bangles of different colours but of the same size.
2. Draw a circle on the cardboard piece with a bangle and cut it.
3. Now stick one bangle on top of the other using circular cardboard as the base for the pencil stand.
4. Stick the bangles till you get a height of five inches at least.
5. Yours beautiful pen stand is ready.
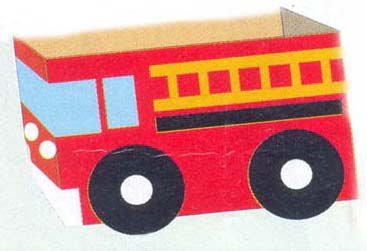
Fire Truck
Material
A cardboard box, four paper plates, Red and black paint, 3 paint brushes, black, white, blue and orange construction paper, scissors, glue.
Instructions
1. Paint a cardboard box red and let it dry.
2. Paint four paper plates black and glue them after they dry.
3. Cut two headlights and fenders from white construction paper and glue them to one end of the truck.
4. Cut a windshield and windows from light blue construction paper and glue them to one end of the truck.
5. Cut two ladders from orange construction paper and cut two hoses from black construction paper. Cut white hub cap. Glue all of these to the sides of your truck.
6. Now fire truck is ready.
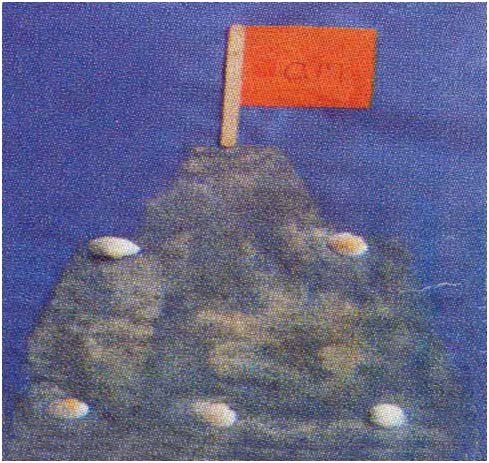
Castle of Sand
Material
Construction paper of light blue colour, piece of paper for flag, ice cream stick, sand, shells and glue.
Instructions
1. First of all paint the shape of the sand castle on the construction paper with a thick layer of glue. Sprinkle the sand evenly over it and leave to dry.
2. Glue the shells on the picture to decorate.
3. Cut out a small rectangle of brightly coloured paper for the flag. Glue it on an ice cream stick.
4. Glue the flag on top of the sand castle.
Colourful Streamers
A simple way to make shining, colourful streamers.
The things you need :
1. Thin sheets of coloured paper.
2. Scissor.
Step 1
Make three folds in the paper as shown in the figure.
Step 2
Make slits at regular intervals all along the length of the paper (L1) without cutting the opposite length(L2).
Step3
Now repeat the same procedure making slits from L2 towards L1. Again, be sure that L1 does not get cut.
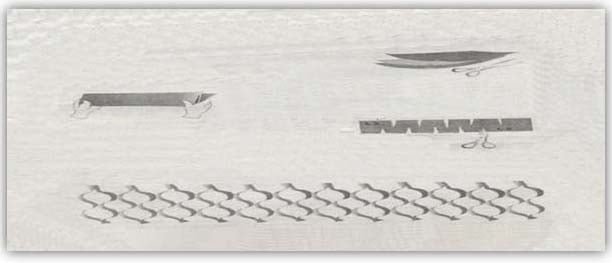
Gently open the pattern. A broad streamer will flow before your eyes.
If you want to make thin streamers then just make a single fold. More the folds broader the streamer.
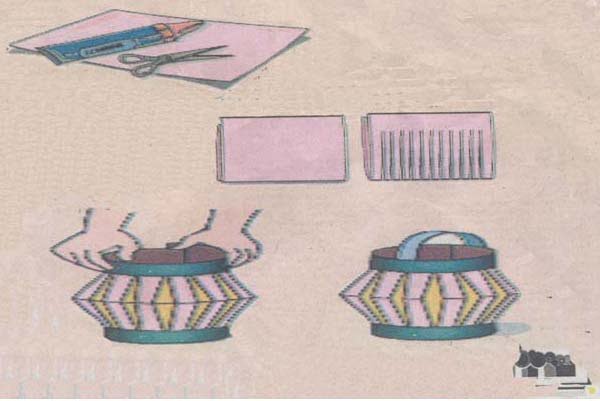
Paper Lamp Shades
Paper is one thing that can be used for a variety of purposes—crafts, packaging, storage stationery… the uses are countless. Here is one of the things that you can make.
The things you need :
1. Chart paper 2. Scissors 3. Adhesive
Steps
1. Take the chartpaper and cut it into a rectangular piece. (12 inch × 6 inch)
2. Fold the paper length wise into half.
3. With the help of a scissor make slits all along the length from the folded side.
4. Stick opposite width of the paper.
5. Cut a strip (1 inch × 8 inch) from the remaining chart paper. Stick the two ends of the strip to the cylindrical lamp to make the handle. Colour or decorate it the way you like.
6. The lamp shade is ready to adorn your house. To light the bulb, just extend the electrical wire with a socket to the place where you are going to hang the lamp shade. Fix a bulb and put the switch on.
Cap Your Scissors
The things you need :
1. Any old cloth (12 inch x 16 inch).
2. A sheet of foam (half inch thickness).
3. A sewing machine.
4. A thick fancy ribbon or tape.
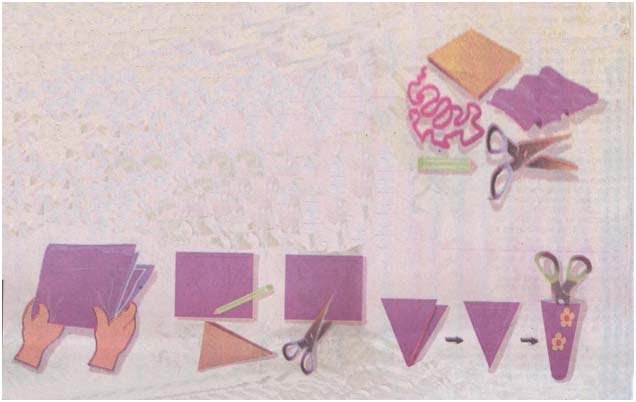
Steps
1. Fold the cloth into a quarter. Draw a triangle of base three inches and height seven inches, as shown below. Cut it out.
2. Similarly, cut the foam into two triangles of the same dimensions as the cloth.
3. Machine stitch a layer of foam in between the two layers of the cloth.
4. When the two triangles with foam padding are complete, snip the apex and stitch the two pieces together from the three sides.
5. Nearly hem the horizontal sides that are at the top, but separately.
6. Stick or may be stitch on the inner side either the ribbon or tape to make a handle.
7. Your scissor cap is ready which can be hung anywhere.