People have worn masks since the beginning of time. Masks have been worn for protection, concealment, performance, or even just plain amusement. Storytellers and actors wear masks to portray characters and make their stories more interesting. Every culture has some form of mask art. Some of the most beautiful masks in the world have come from Africa.
In this activity, you’ll use your understanding of repeat patterns and negative space to create stunning masks on wood with found materials. When you’re finished, you’ll have made a beautiful mask to wear as part of a costume, incorporate into a school project, or even use as decoration.
What You Need:
❑ Small sheet of wood veneer (found at hardware and home improvement stores)
❑ Hobby knife
❑ Found objects such as feathers, beads, foil, ribbon, fabric and empty egg carton
❑ Paint
❑ Sheets of a newspaper to protect work surface
❑ Glue
❑ Paper (coloured mat board) which can be found at art stores and hobby stores
What You Do:
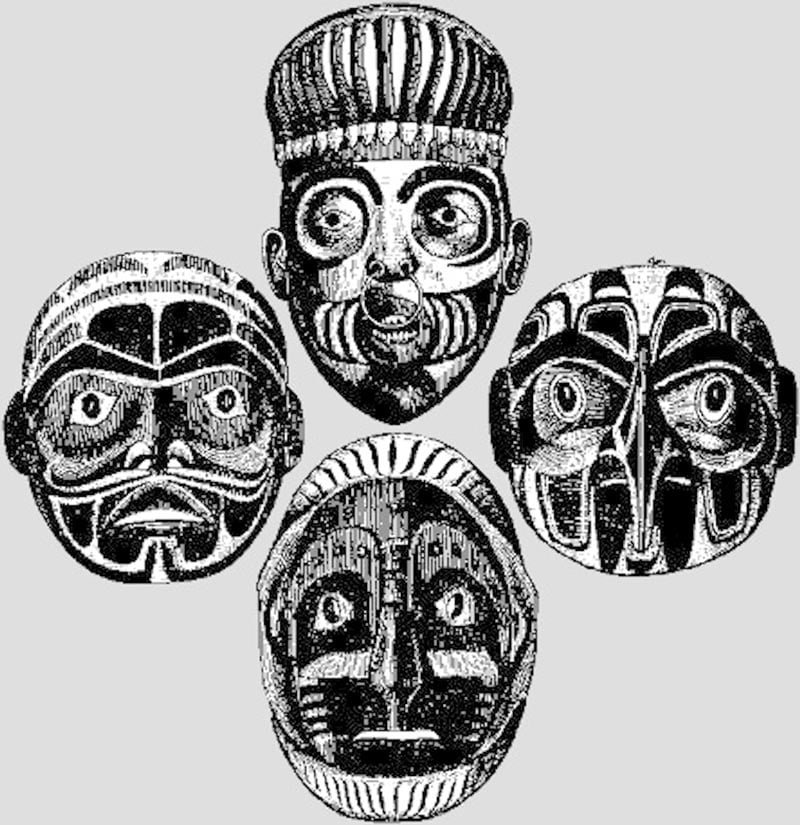
- Take some time to study masks from different cultures. The African artisans created a rich tradition of mask carving and painting. Many Asian cultures create masks to depict spirits and demons. You can find information on these kinds of masks in books or even online. Look at the colours, texture, surface decoration and patterns and materials that were used to make your favourite masks. Try to figure out what the artist was saying with his mask.
- Help your child draw a design for his mask that is twice as wide as the sheet of veneer and no longer than the veneer from top to bottom. Draw a line down the middle of the design so that the mask may be evenly divided with a right and left side. Have your child decide what he will use to decorate his mask.
- Cut the piece of veneer in two.
- With the utility knife, have your child cut out the outside shape of the mask from his paper design. Position the mask shape over the back of the veneer sheet, so that one half of the mask may fit onto the veneer. Draw around the outside of the mask shape. Carefully draw around half of the shape.
- Cut the shape out of the veneer. Make sure your child cuts it in one piece. Try to stay as close to the line as possible. Take the shape and flip it over so that the outline and the reverse of the outline may meet in the middle.
- Cut out the nose, mouth, ears or any other markings and line them up. The face should divide down the middle with wood veneer on one side and the paper showing through on the other.
- Have your child arrange the different pieces in the way that he would like and glue the pieces down.
- Let dry.
- Have your child decorate with the mask with found objects, cut-out shapes, etc. Remember to paint them so that one side may be the reverse colour of the other.
This mask is an excellent example of the interplay between positive and negative space. The space around an element is as important as the element itself. While drawing, an artist always includes the negative space as part of the design. The skills reinforced by this project are the ones that can be applied in a number of different arenas.